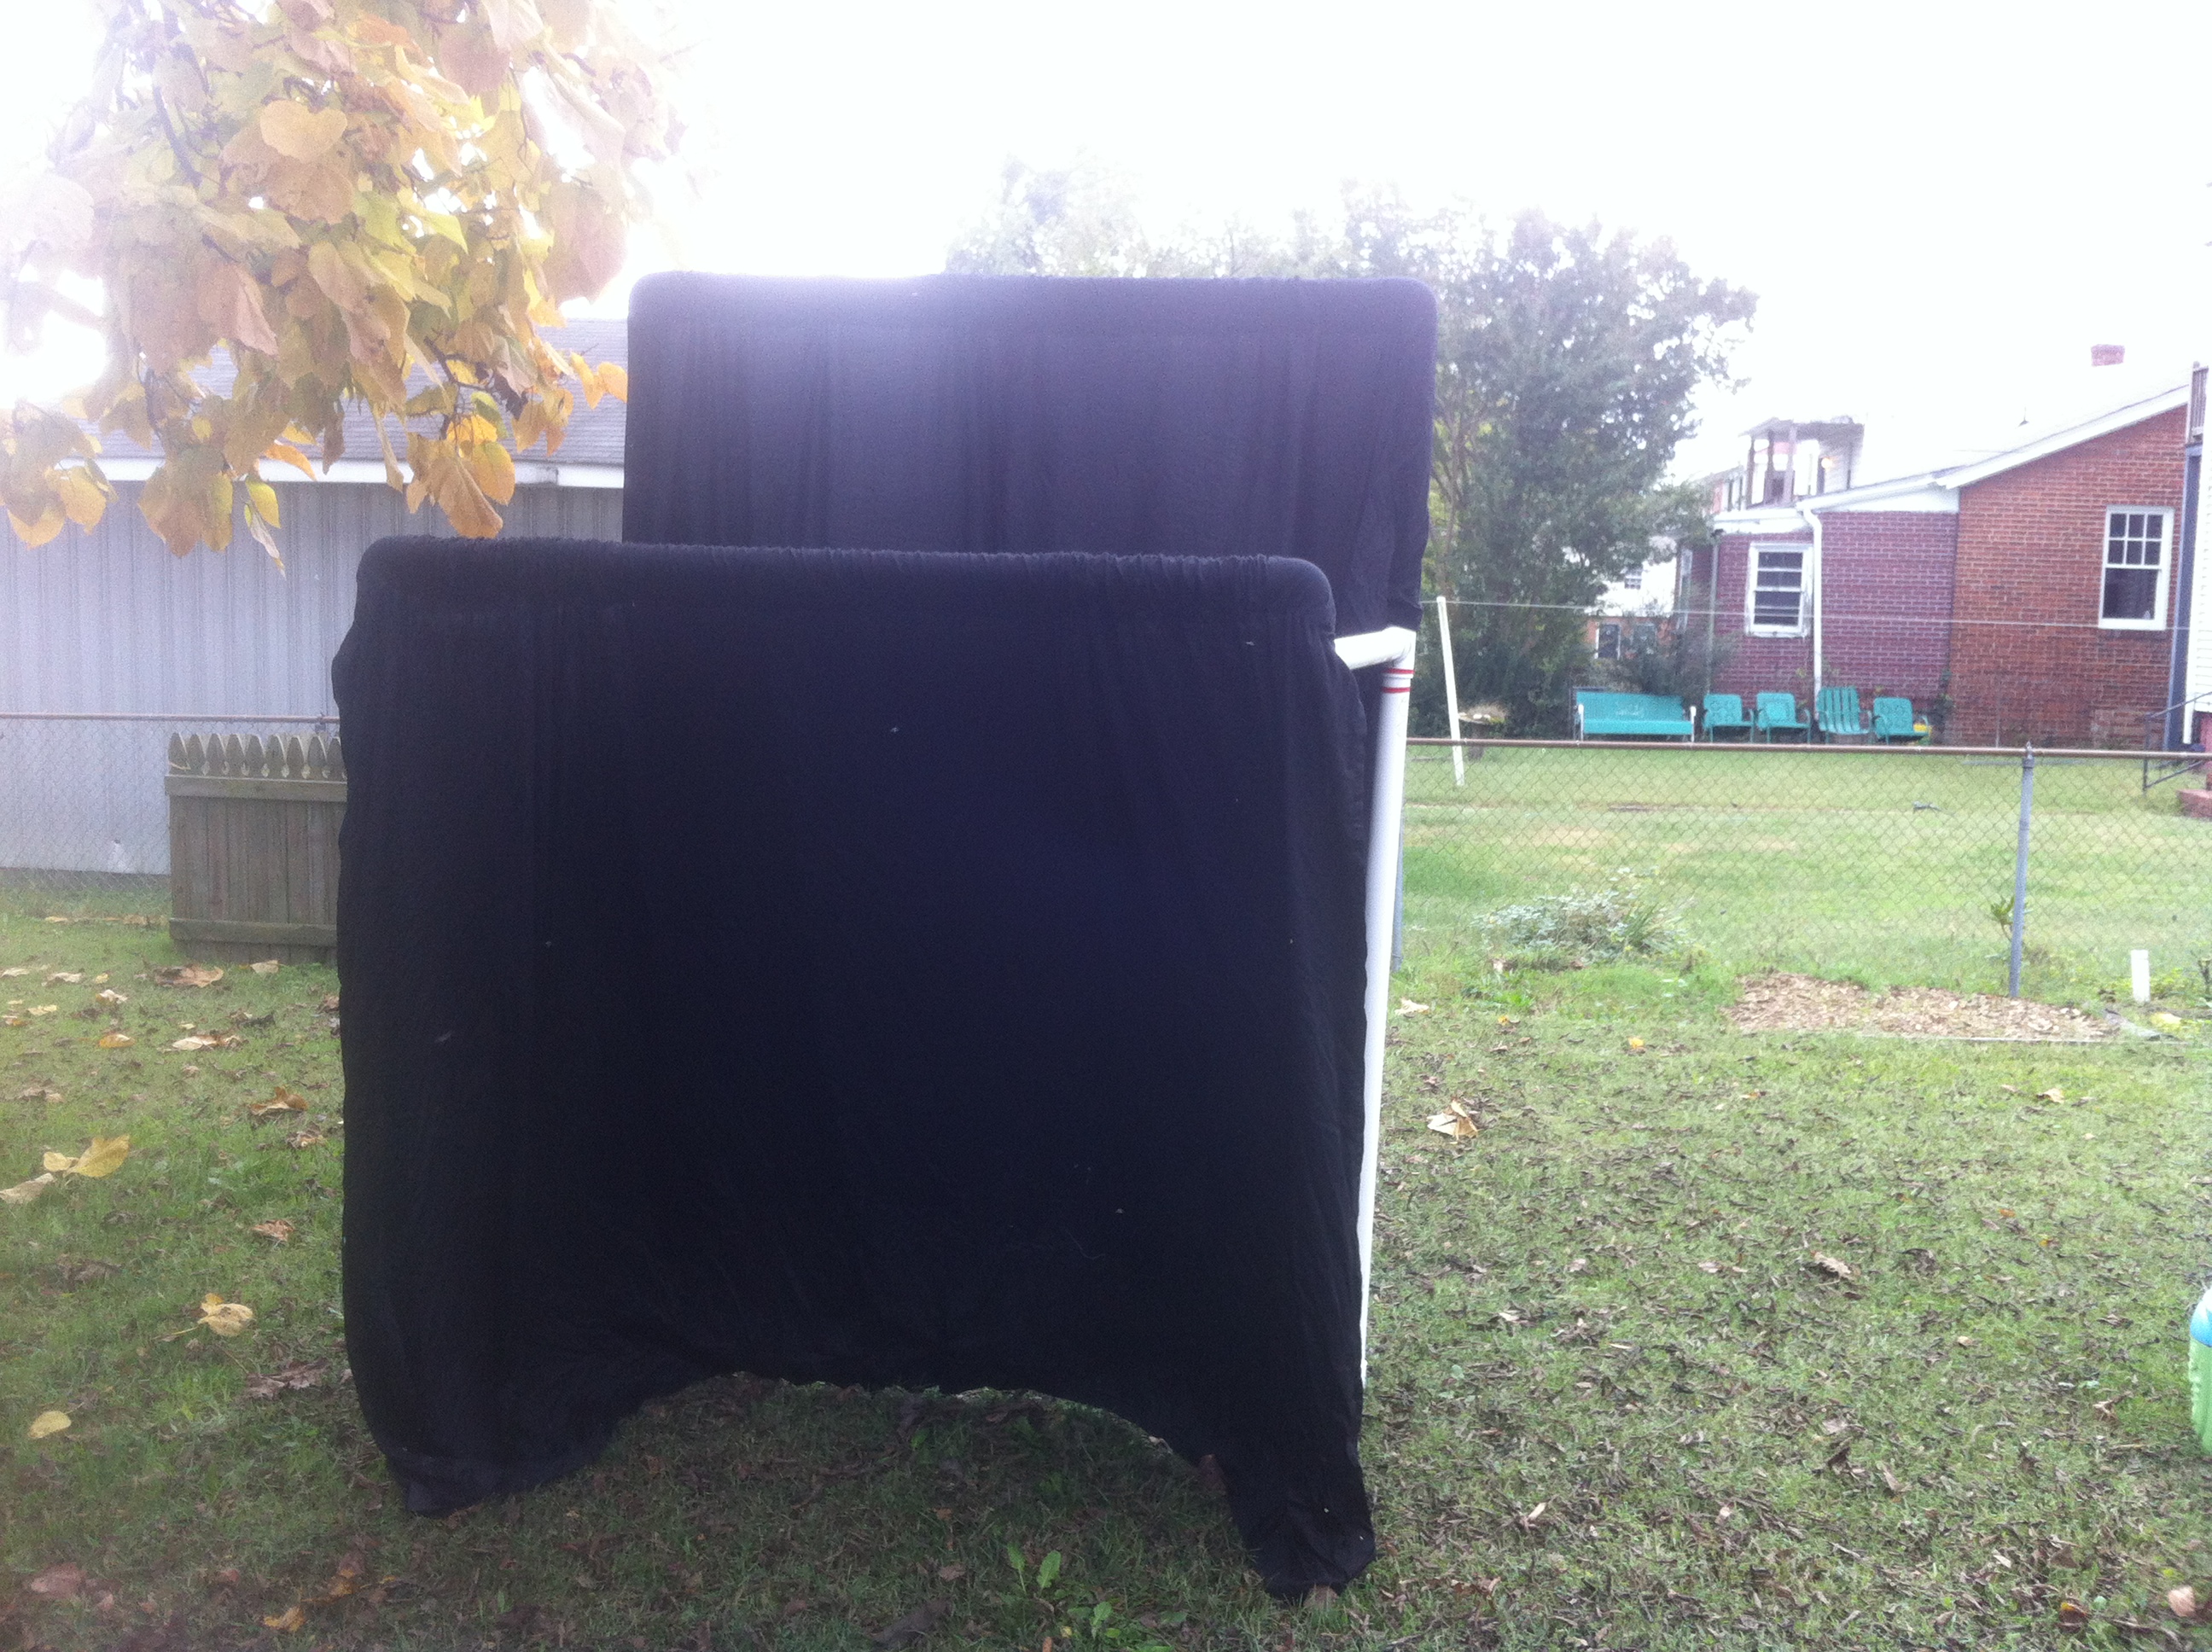
How to Build a Portable Puppet Theater

Several years ago I built a portable puppet theater out of PVC and black fabric. We have used it since then for puppet shows at our church. Our church has different locations, so this is perfect for moving the theater back and forth to different spots where we have children’s worship services and summer activities. In a few months, a friend of mine will be borrowing it for a class she is teaching on puppetry at her elementary school.

It has been such a convenient and affordable way to get a big payoff in terms of doing puppets for and with kids that I thought it would be worth sharing with you how it was built. I hope this comes in handy to someone out there who wants to build their own.

Want more ideas on crafts and supplies you can use in performance settings? Sign up here for my free monthly newsletter. It is full of ideas about children’s ministry and performing, along with updates about my road travels.

Materials: The materials cost me around $150. And it helped that I have a mother who sews, so she volunteered the labor of making the black fabric pieces that hang on the PVC piping. Here is a list of what you will need:

  • Four king-sized flat bed sheets (black color)
  • Four 10-foot lengths of 2″ PVC piping (if you can only get 8-foot lengths, you’ll need to get seven pieces)
  • Four T-couplings of 2″ PVC
  • Four 90-degree elbow couplings of 2″ PVC
  • Four flat caps of 2″ PVC
  • Seven different colors of electrical tape (only about a foot of length needed for each color)
  • A saw fit for cutting PVC
  • Someone with basic sewing skills and a sewing machine (if you don’t have this, then you’ll need to find a way to attach the fabric to the stage on your own, which is very possible with some creativity)

Steps:

Step 1: Cut three of the 10-foot PVC lengths in half, leaving you with six 5-foot lengths.

Step 2: Cut the remaining 10-foot PVC length into the following: two 30-inch lengths, two 24-inch lengths, and two 2.5-inch lengths, and you should have some scrap remaining.

Step 3: Assemble the pieces into the design as seen in the pictures below. It is fairly simple, so study these pictures a bit and you’ll see how all the parts fit together. The caps are the feet of the four posts. The 5-foot lengths are the four posts and the two that go across from side to side. The 30-inch pieces are the front-back connectors. The 24-inch pieces are the height extensions on the back posts. The 2.5-inch pieces serve as a way to connect the T-couplings to the 90 elbow couplings on the front part of the stage. All of this makes the stage just over seven feet tall in the back and just under six feet tall in the front. It is about three feet deep.

Step 4: Take the four king sized black flat bed sheets and sew 2 sheets together and then the remaining 2 sheets together, so you are left with two pieces that are roughly 12-foot by 6-foot each. Then fold and sew a 5.5-inch” “tunnel” across the 12-foot length of the sheets. This tunnel will be large enough to slip over the 2-inch PVC.

Step 5: Color code all of your connections using the colored electrical tape. This helps for re-assembly when people unfamiliar with the stage are helping to set it up.

Step 6: Slip the sheets on using the tunnels as seen the pictures. Stand up the stage if you haven’t already. Get out your puppets and have fun!

IMG_2222
This is the stage laying on its back. The longer lengths on the sides will be a front extension, as you’ll see in the next pictures.
IMG_2225
Those two pieces sticking up are the 30-inch lengths. They go into the T-couplings.
IMG_2226
Use three of the 5-foot lengths to finish this off. Two are the front posts (hanging in the air) and one is the “across” piece at the top of this picture. The stage is still laying on its back at this point. You are now ready to stand it upright.

IMG_2227

IMG_2229

IMG_2230

IMG_2259
This is that short 2.5-inch piece that connects your T-coupling to the 90 elbow coupling on the front side of the stage.
IMG_2257
Sew together 2 king-sized flat black bed sheets into a 12-foot by 6-foot large piece. Do this twice.
IMG_2258
This is the “tunnel” that you need to sew. Just fold over about 5.5-inches of fabric across the 12-foot length of the black sheets. Sew that part down.

IMG_2231

IMG_2232

IMG_2235

IMG_2233

IMG_2253

IMG_2256

Want more ideas on crafts and supplies you can use in performance settings? Sign up here for my free monthly newsletter. It is full of ideas about children’s ministry and performing, along with updates about my road travels.

Need a speaker/entertainer for your next event? Get a free quote on my juggling show here. I travel full-time nationwide.

Page_1 (2)