Teaching Kids About Street Performing

I performed for a small group of three to five year-olds at my daughter’s school today. They were studying about Europe, so I figured I would teach them about Europe’s rich tradition of busking (another term for street performing). I showed them a picture of a busker at the Fringe Festival in Edinburgh, Scotland as an example of Europe’s street performing scene.

But I wanted to take the lesson a bit further. I concocted a social experiment that I have never before tried (or heard of anyone doing). I counted out fifteen pennies per child and set the money on each child’s carpet square before they entered the room. When they came in, I told them to count their money (an opportunity to practice math) and that the money is now theirs.

IMG_6951
Each child started with fifteen pennies. It was my job to perform and try to earn some of those pennies in my hat. They could keep and take home what they didn’t spend.

IMG_6954

I then instructed them that I was going to perform for them and lay a hat out in front of me. I explained the tradition of paying street performers if you like their tricks and think they’re funny. I emphasized that they can certainly keep their money if they choose. If they didn’t like my show or thought I wasn’t funny, then there is no need to give me any money. In fact, even if they like my show, they still don’t have to give me money. But I as the street performer will respectfully ask that they put something in the hat if they like the show. It’s all voluntary.

IMG_6955
Some of the equipment I used to try to earn some pennies today.

So I turned on the music, picked up my juggling things, and went to work. I was actually performing for seven little children and two adult teachers just hoping that I would earn some pennies for my hard work. I was surprised at how seriously I took it.

After a few tricks, low and behold, they started coming. The children and the teachers began to trickle up towards my hat and drop pennies in at various times when I would do tricks. It certainly warmed my heart to know that they liked what I was doing.

Some kids held most or all of their money back. And that was totally fine. Enough children were voluntarily showing me their appreciation through pennies that it didn’t bother me. In fact, as a street performer, I should still do my work with excellence whether people throw money or not. As street performers, we are always putting ourselves out there and making ourselves vulnerable to the fate of the audience’s appreciation or lack thereof. It is a risk we are willing to take. And if it means no pay, then that’s life and we will go out and try harder the next day.

Thankfully, these kids were generous with their penny throwing and at the end of the day, I counted up exactly one hundred pennies. It was a buck hard earned.

IMG_6957
Here is some of my pay. More pennies came in after I took this shot.

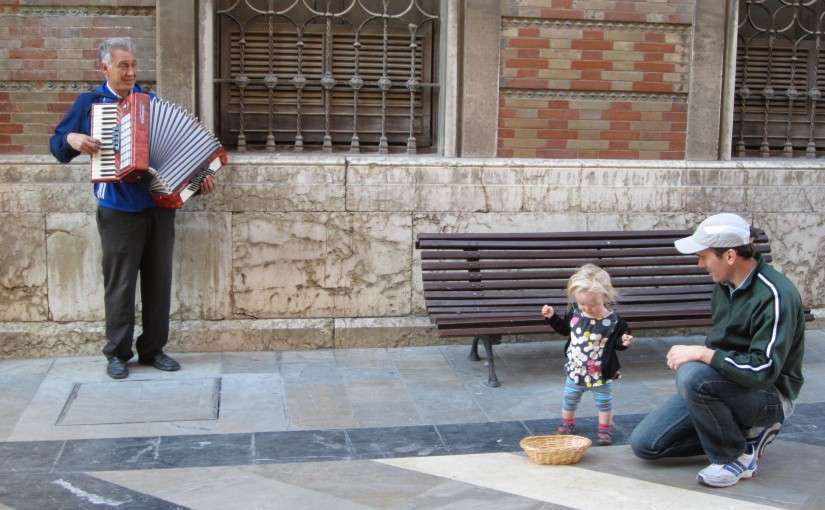
The header image at the top of this post features Kezzie learning to put money in the busker’s basket when she was only one. This gentleman was happily playing his accordion for us in Malaga, Spain while we were on a family vacation.

How to Build a Portable Puppet Theater

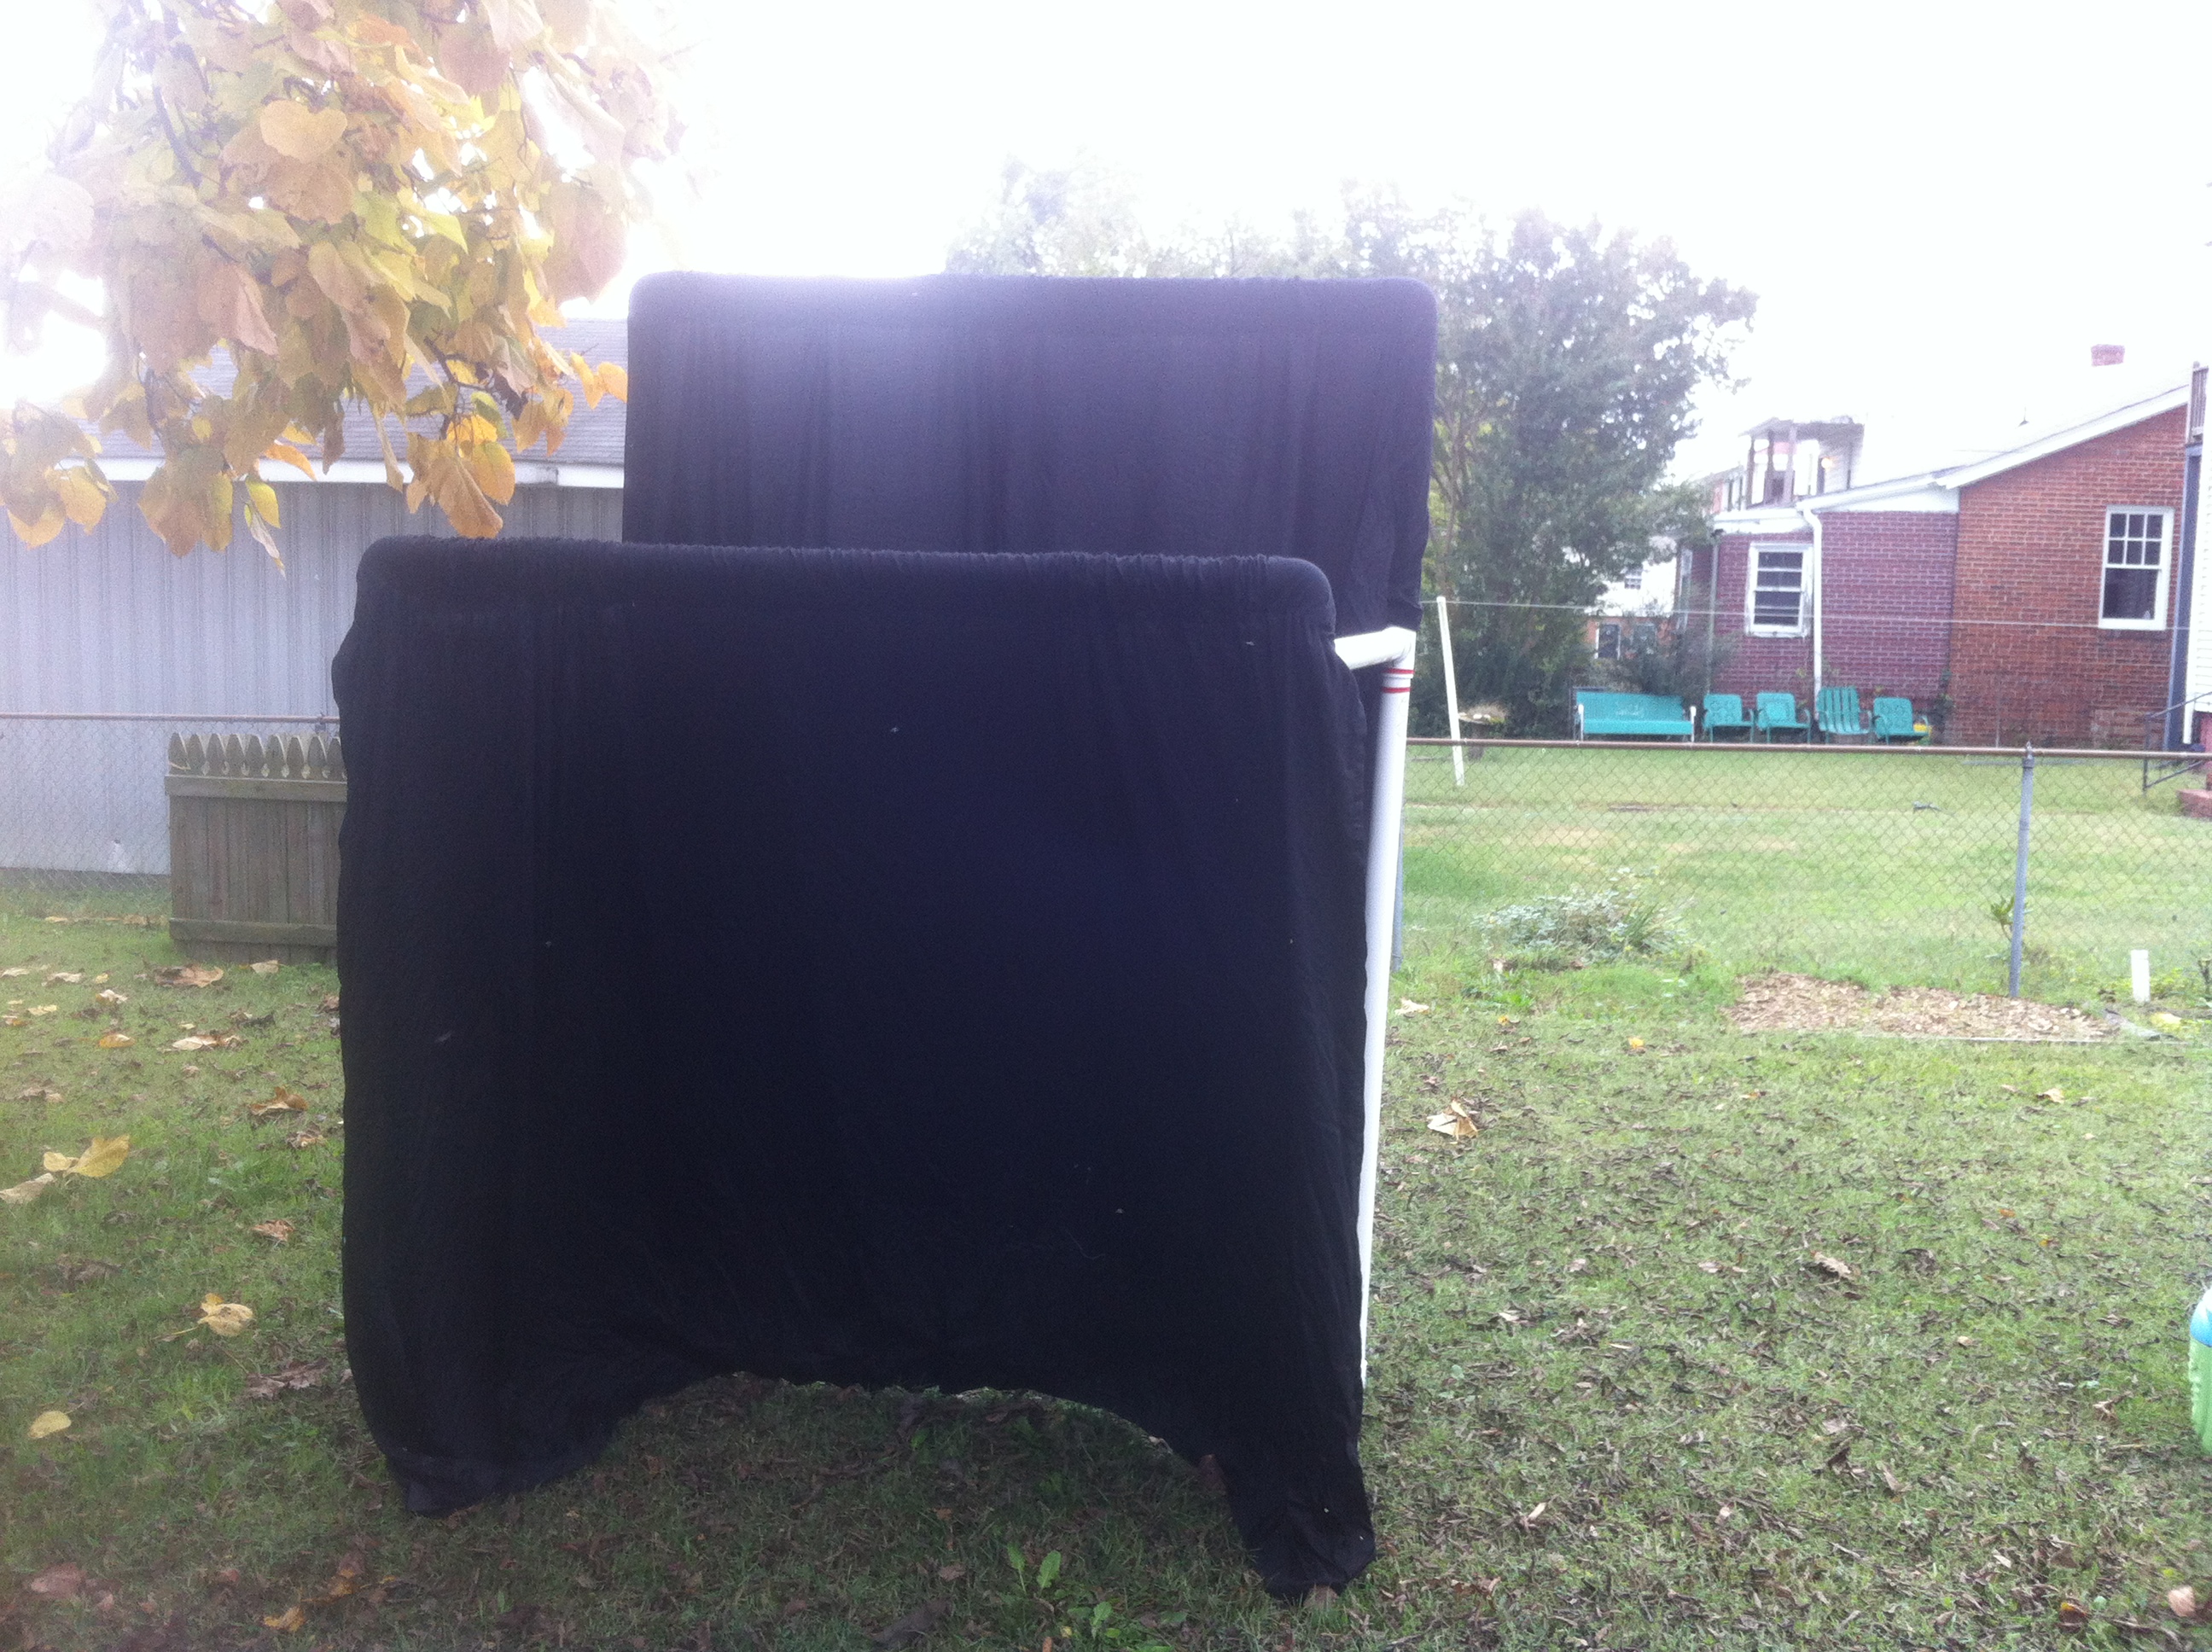
Several years ago I built a portable puppet theater out of PVC and black fabric. We have used it since then for puppet shows at our church. Our church has different locations, so this is perfect for moving the theater back and forth to different spots where we have children’s worship services and summer activities. In a few months, a friend of mine will be borrowing it for a class she is teaching on puppetry at her elementary school.

It has been such a convenient and affordable way to get a big payoff in terms of doing puppets for and with kids that I thought it would be worth sharing with you how it was built. I hope this comes in handy to someone out there who wants to build their own.

Want more ideas on crafts and supplies you can use in performance settings? Sign up here for my free monthly newsletter. It is full of ideas about children’s ministry and performing, along with updates about my road travels.

Materials: The materials cost me around $150. And it helped that I have a mother who sews, so she volunteered the labor of making the black fabric pieces that hang on the PVC piping. Here is a list of what you will need:

  • Four king-sized flat bed sheets (black color)
  • Four 10-foot lengths of 2″ PVC piping (if you can only get 8-foot lengths, you’ll need to get seven pieces)
  • Four T-couplings of 2″ PVC
  • Four 90-degree elbow couplings of 2″ PVC
  • Four flat caps of 2″ PVC
  • Seven different colors of electrical tape (only about a foot of length needed for each color)
  • A saw fit for cutting PVC
  • Someone with basic sewing skills and a sewing machine (if you don’t have this, then you’ll need to find a way to attach the fabric to the stage on your own, which is very possible with some creativity)

Steps:

Step 1: Cut three of the 10-foot PVC lengths in half, leaving you with six 5-foot lengths.

Step 2: Cut the remaining 10-foot PVC length into the following: two 30-inch lengths, two 24-inch lengths, and two 2.5-inch lengths, and you should have some scrap remaining.

Step 3: Assemble the pieces into the design as seen in the pictures below. It is fairly simple, so study these pictures a bit and you’ll see how all the parts fit together. The caps are the feet of the four posts. The 5-foot lengths are the four posts and the two that go across from side to side. The 30-inch pieces are the front-back connectors. The 24-inch pieces are the height extensions on the back posts. The 2.5-inch pieces serve as a way to connect the T-couplings to the 90 elbow couplings on the front part of the stage. All of this makes the stage just over seven feet tall in the back and just under six feet tall in the front. It is about three feet deep.

Step 4: Take the four king sized black flat bed sheets and sew 2 sheets together and then the remaining 2 sheets together, so you are left with two pieces that are roughly 12-foot by 6-foot each. Then fold and sew a 5.5-inch” “tunnel” across the 12-foot length of the sheets. This tunnel will be large enough to slip over the 2-inch PVC.

Step 5: Color code all of your connections using the colored electrical tape. This helps for re-assembly when people unfamiliar with the stage are helping to set it up.

Step 6: Slip the sheets on using the tunnels as seen the pictures. Stand up the stage if you haven’t already. Get out your puppets and have fun!

IMG_2222
This is the stage laying on its back. The longer lengths on the sides will be a front extension, as you’ll see in the next pictures.
IMG_2225
Those two pieces sticking up are the 30-inch lengths. They go into the T-couplings.
IMG_2226
Use three of the 5-foot lengths to finish this off. Two are the front posts (hanging in the air) and one is the “across” piece at the top of this picture. The stage is still laying on its back at this point. You are now ready to stand it upright.

IMG_2227

IMG_2229

IMG_2230

IMG_2259
This is that short 2.5-inch piece that connects your T-coupling to the 90 elbow coupling on the front side of the stage.
IMG_2257
Sew together 2 king-sized flat black bed sheets into a 12-foot by 6-foot large piece. Do this twice.
IMG_2258
This is the “tunnel” that you need to sew. Just fold over about 5.5-inches of fabric across the 12-foot length of the black sheets. Sew that part down.

IMG_2231

IMG_2232

IMG_2235

IMG_2233

IMG_2253

IMG_2256

Want more ideas on crafts and supplies you can use in performance settings? Sign up here for my free monthly newsletter. It is full of ideas about children’s ministry and performing, along with updates about my road travels.

Need a speaker/entertainer for your next event? Get a free quote on my juggling show here. I travel full-time nationwide.

Page_1 (2)