Super Easy Scripture Slides and Images

I recently stumbled upon a fast and free way to make Scripture slides for Children’s Ministry (or any other ministry, for that matter) with an array of free and attractive backgrounds.

And it may already be in your phone/device.

It’s built into one of the popular apps out there – the free YouVersion app of the Bible (they’re not paying me to post this, btw 🙂 I just really like this feature and want to share about it).

I was using the app recently and saw a button I had never seen before. So I clicked on it. What I found was amazing. It was an option to make an image of any selected Bible verse over any background of your choice (your own or from their library). The settings make it easy to change the font, the font size, the colors, etc. Below are some steps and pics to show you how to do it.

image12

  1. First, download the app. Search “youversion” on your app store.
  2. Once you familiarize yourself with how to find a certain verse (which is intuitive), select a verse by tapping it. It will underline the verse with a dotted line and then give you a selection of options on the right.
  3. Then tap on the orange button (of a photograph), which will lead you through the step-by-step editing process.
  4. Once you have your slide, share it as you like! See the images below for a more detailed look at how it works.
Tap a verse you want to turn into a slide. It will underline it will dotted lines. Then click on the orange button on the right - the one with the image of a photograph.
Tap a verse you want to turn into a slide. It will underline it will dotted lines. Then click on the orange button on the right – the one with the image of a photograph.
Select an image from their gallery. Or you can use your own (the very first option).
Use the options under the image to change the font, size, and color of the verse.
image6
When you’re ready, tap “save.” Then you will see this image. Tap the “share” button to see your sharing options.

Then you can share the image by email, message, or social media. You can also save the image to your device and hence drop it into any slide show you are making (such as Keynote or ProPresenter).

image7

I love to use it to share a quick verse on social media or as a slide when I’m speaking or teaching about the Bible. It’s super easy to use and best of all, it’s free!

Bonus: Many of the most popular Bible verses (John 3:16, for example) have special pre-made images with artsy fonts and backgrounds. Those are fun to discover and you just have to stumble upon them when you go to those verses and then go to this “edit image” process.

Want more creative ideas for Children’s and Family Ministry? Sign up for my free newsletter here.

Need a speaker/entertainer for your next event? Check out my promo videos here.

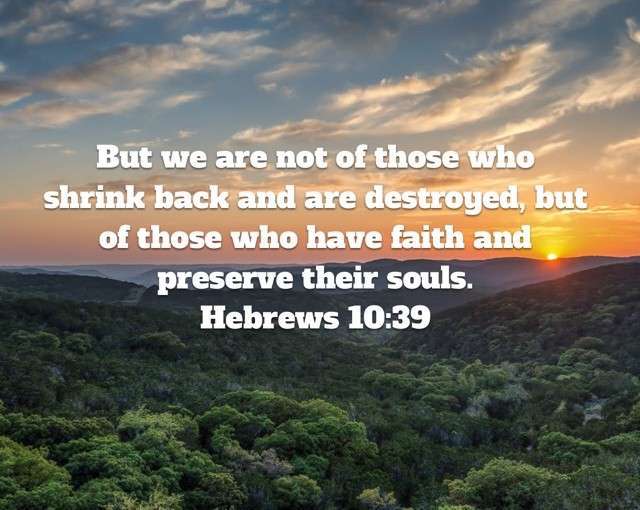
Here are some slides I’ve made since I found out about this……

IMG_2252 IMG_2253 IMG_2255 IMG_2263 IMG_2264 IMG_2277


Children’s Ministry Lesson: The Ten Plagues

red waterI have taught Children’s Church lessons for over a decade and I think yesterday’s lesson on the ten plagues was one of my favorite lessons to ever teach.

Please don’t think that I love dark and dismal things like plagues. They really are pretty negative. Biblically speaking, they were real judgements carried out on lots of people, ultimately leading to death for many.

Thankfully, we are separated by centuries from these ten plagues described in the book of Exodus. That is enough separation of time for me to feel free to use some creative object lessons to help kids remember the story and ultimately – the main point (which has to do with Jesus Christ).

So we had a little fun in re-telling the story. Here’s what I did with each of the plagues to help the kids learn and remember them:

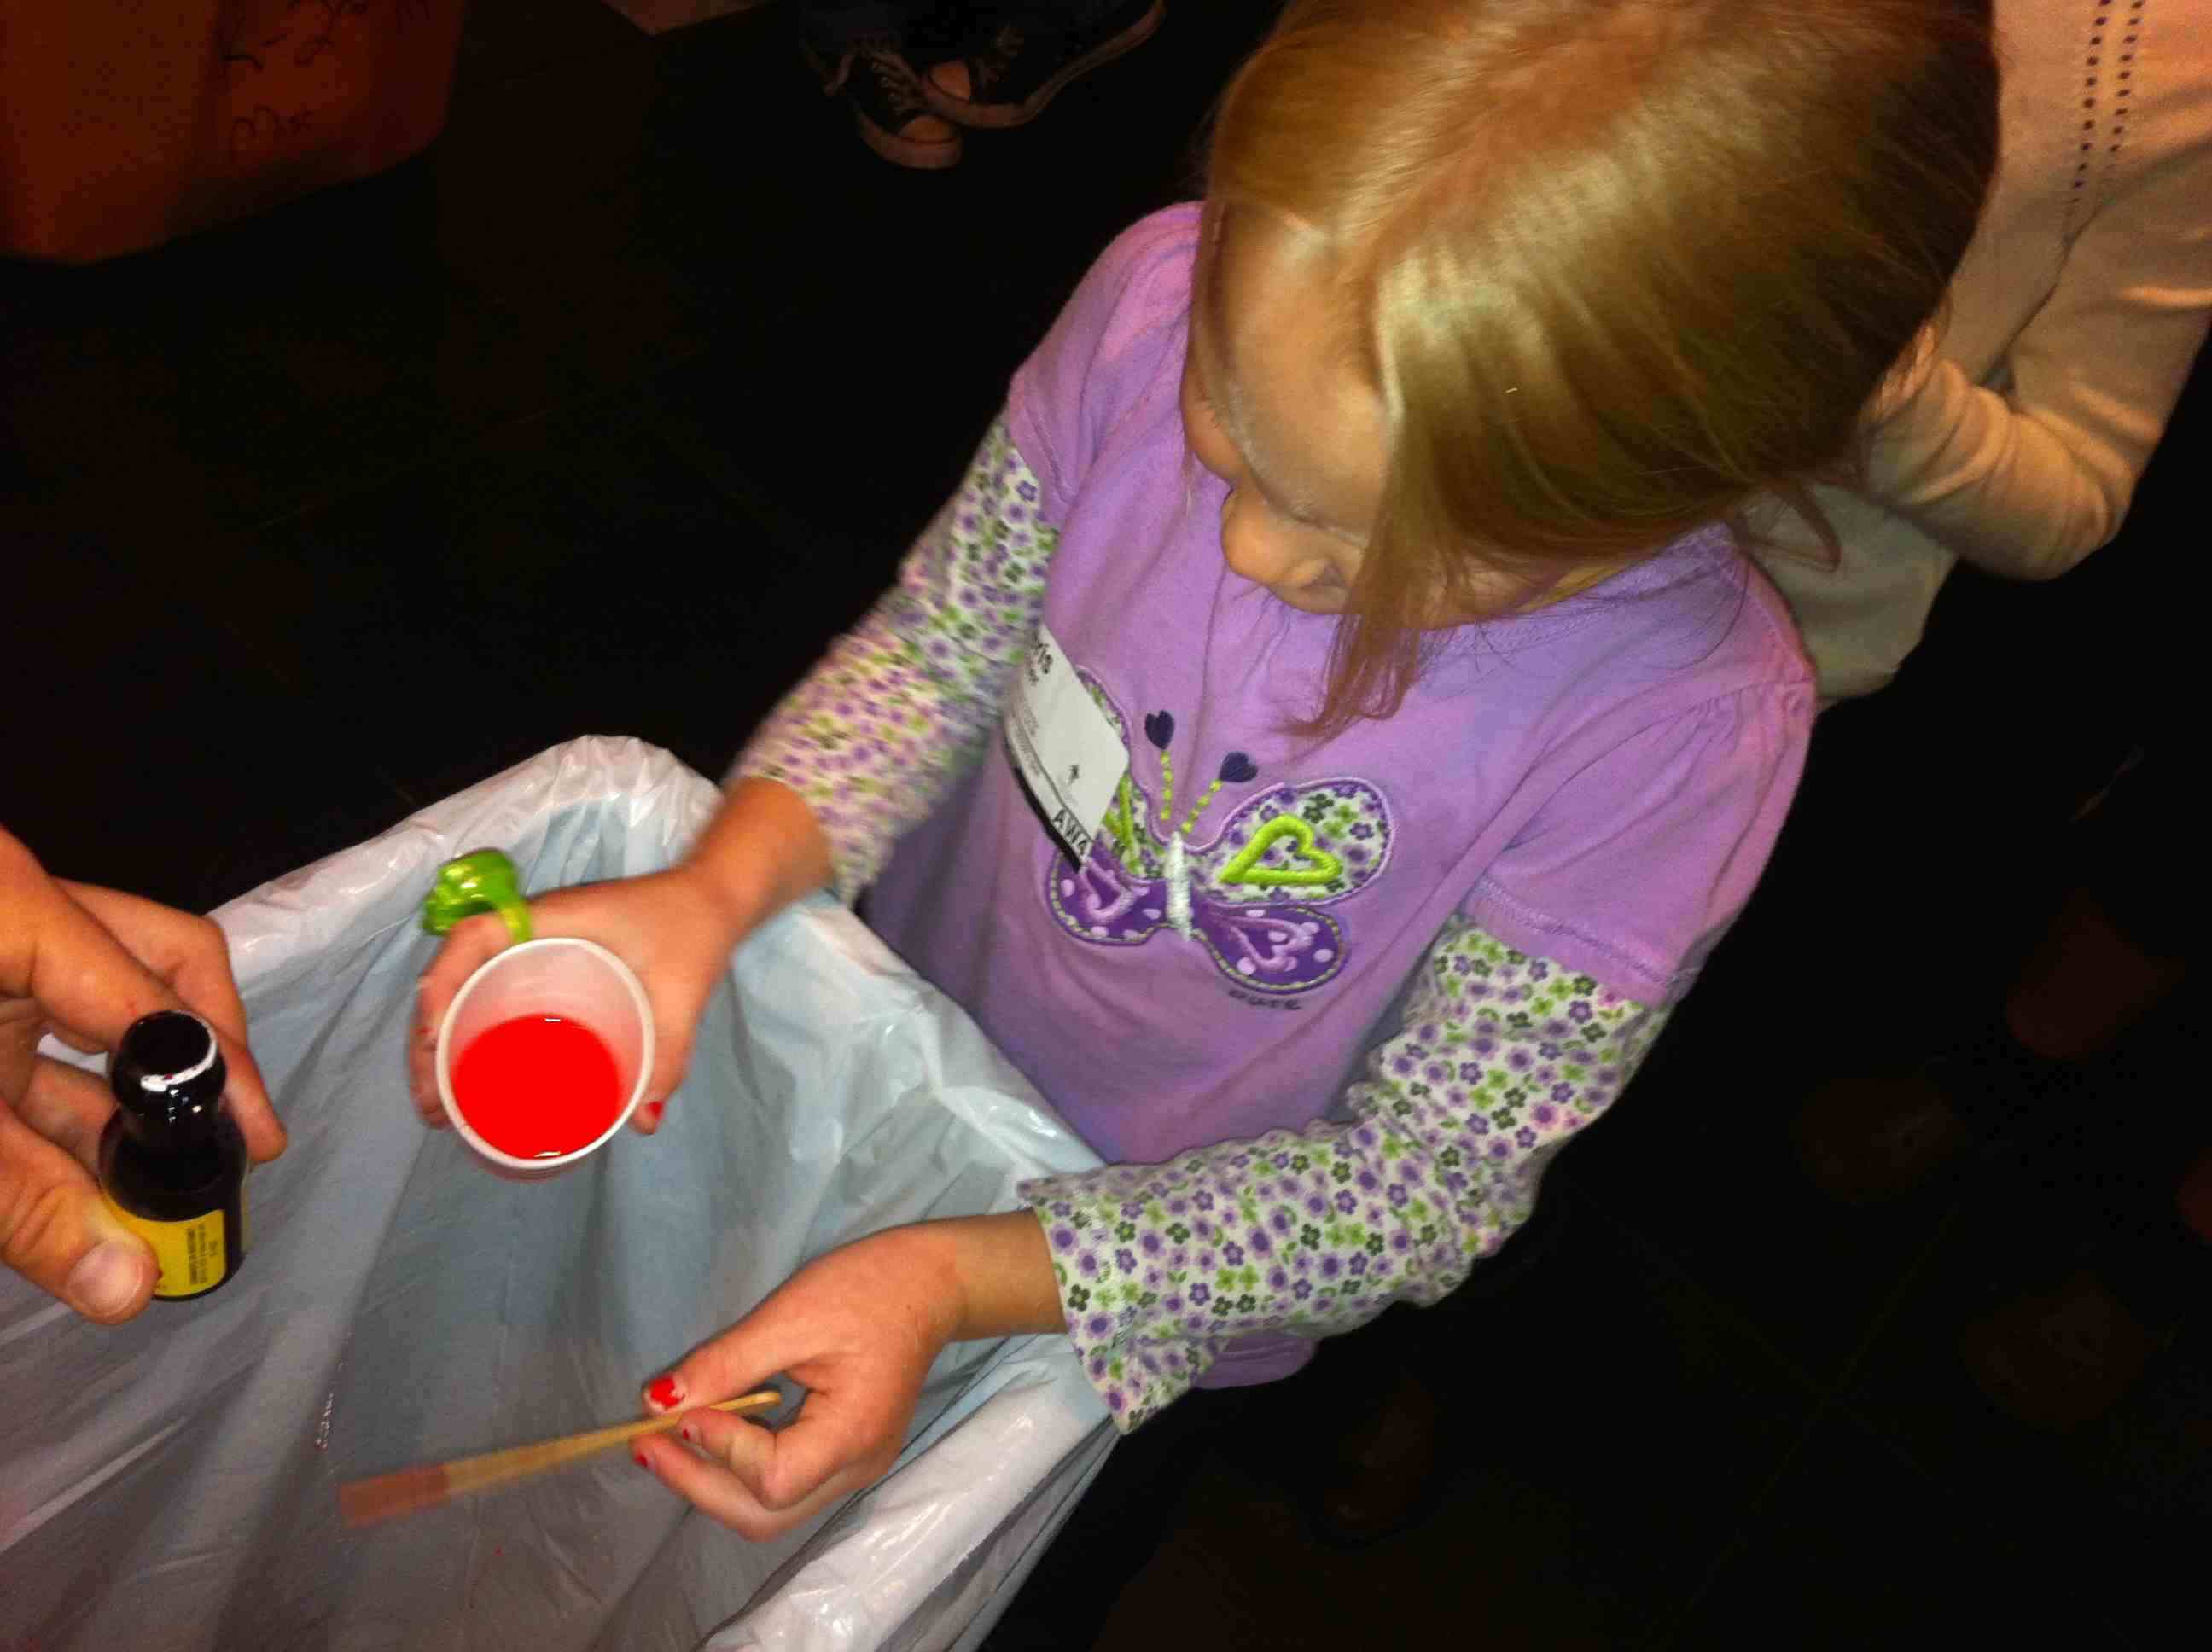
  1. Blood (the Nile turned to blood): I lined the kids up behind a trash can. They each came up with a popsicle stick and a small cup of water. They then dipped the stick (representing Aaron’s staff) into a bottle of red food coloring and transferred the stick to the water. And whahlah: the water turns to blood. We did it right over the trash can so they could throw it all away immediately since red food coloring tends to make some serious stains (like blood 🙂
  2. Frogs – I juggled some stuffed frogs and then threw them at the kids. If you don’t know how to juggle, that’s fine. You can just toss stuffed animal frogs at them!
  3. Gnats – I sprinkled pepper on a child’s arm.
  4. Flies – I brought out my fly swatter and pretended to swat all the flies around me.
  5. Livestock – I juggled some stuffed animals (cow, sheep, horse) and then threw them at the kids. Feel free to skip the juggling part again.
  6. Boils – I put dozens of stickers all over the skin of a volunteer kid (face, arms, neck, etc.).
  7. Hail – I threw marshmallows at the kids: first small ones, then jumbo ones; this was by far their favorite plague.
  8. Locusts – no object lesson here, I just told the story (I guess I needed an object lesson break 🙂
  9. Darkness – I gave all the kids blindfolds and they blindfolded themselves; then I gave them simple commands like waving their hands in front of their faces; from that we discussed how difficult life can be when you can’t see anything (and pitch darkness over a whole city can cause a great deal of havoc).
  10. Firstborn/Passover – I painted some red paint on a piece of wood and spoke about the angel of darkness passing over the homes of the people with the lamb’s blood over their doorstep; I also had all the kids lay down and pretend like they were sleeping – then we pretended it was morning and all the first-born children had to stay down while the others could wake up; it was a good visual of how some kids made it and others did not; I also gave them some unleavened bread to eat.

This then led to the most important part of all – the fact that Jesus is the Lamb of God. And his blood was shed so that we can be set free (as Moses and the Israelites were set free after the Passover). I explained to the kids that I do not think it was a coincidence that Jesus died on the cross at the end of Passover week the year he died. That was the week that Jewish people celebrated the exodus into the wilderness and the angel “passing over” any homes with the lamb’s blood. So also should we have the lamb’s blood (i.e. a relationship with Jesus Christ) and that is the only way we believe we can be free from the judgement of God due to sin.

Want more lesson ideas for Children’s Ministry? Sign up for my free newsletter here and I’ll keep you in the loop for my best free resource ideas and materials!